Showing posts with label organizing. Show all posts

Wednesday, 25 July 2012

Updated, DIY PROJECT: Jewelry Organiser


If you have been reading my blog for a while, you would know that I always have the intention to revamp this piece of baby here. Old post here.


I repainted the frame to fit in my new room..

Then I gathered some my black construction paper and used double sided tape as shown above.

Then I used a piece of "stiff" paper and smooth it out..

you can also get inspired from wendyslookbook here. (:


This is the final look of my jewelry organiser/accessories board

Board; ikea
Paper; any craft stores

Sunday, 8 April 2012

What a mess


Look at what came in the post today! An accessories organiser. Though I do feel cheated, because I found a similar one at a much cheaper price at Daiso ! /Sniff.


Anyway, this is how the back looked like. Rows and rows of it. So you could actually use both front and back. Not too sure about the daiso one though.


These are the boxes I used to store my bangles before I found this baby. (:

I think it's neater this way, with the "dress". What do you think?

Monday, 2 April 2012

DIY: jewellery bowl


I bought this from ikea tampines. But somehow, I just can't find the direct link for this, sorry!


The paint that I'm gonna use, I bought them from artfriend.


Don't worry about the paint being not lasting, I've use both paint colours before, this is just one of them. This is the "couple" photo frame J and I made for each other last year. (:  
Photo frames are bought from Bangkok Chatuchak.


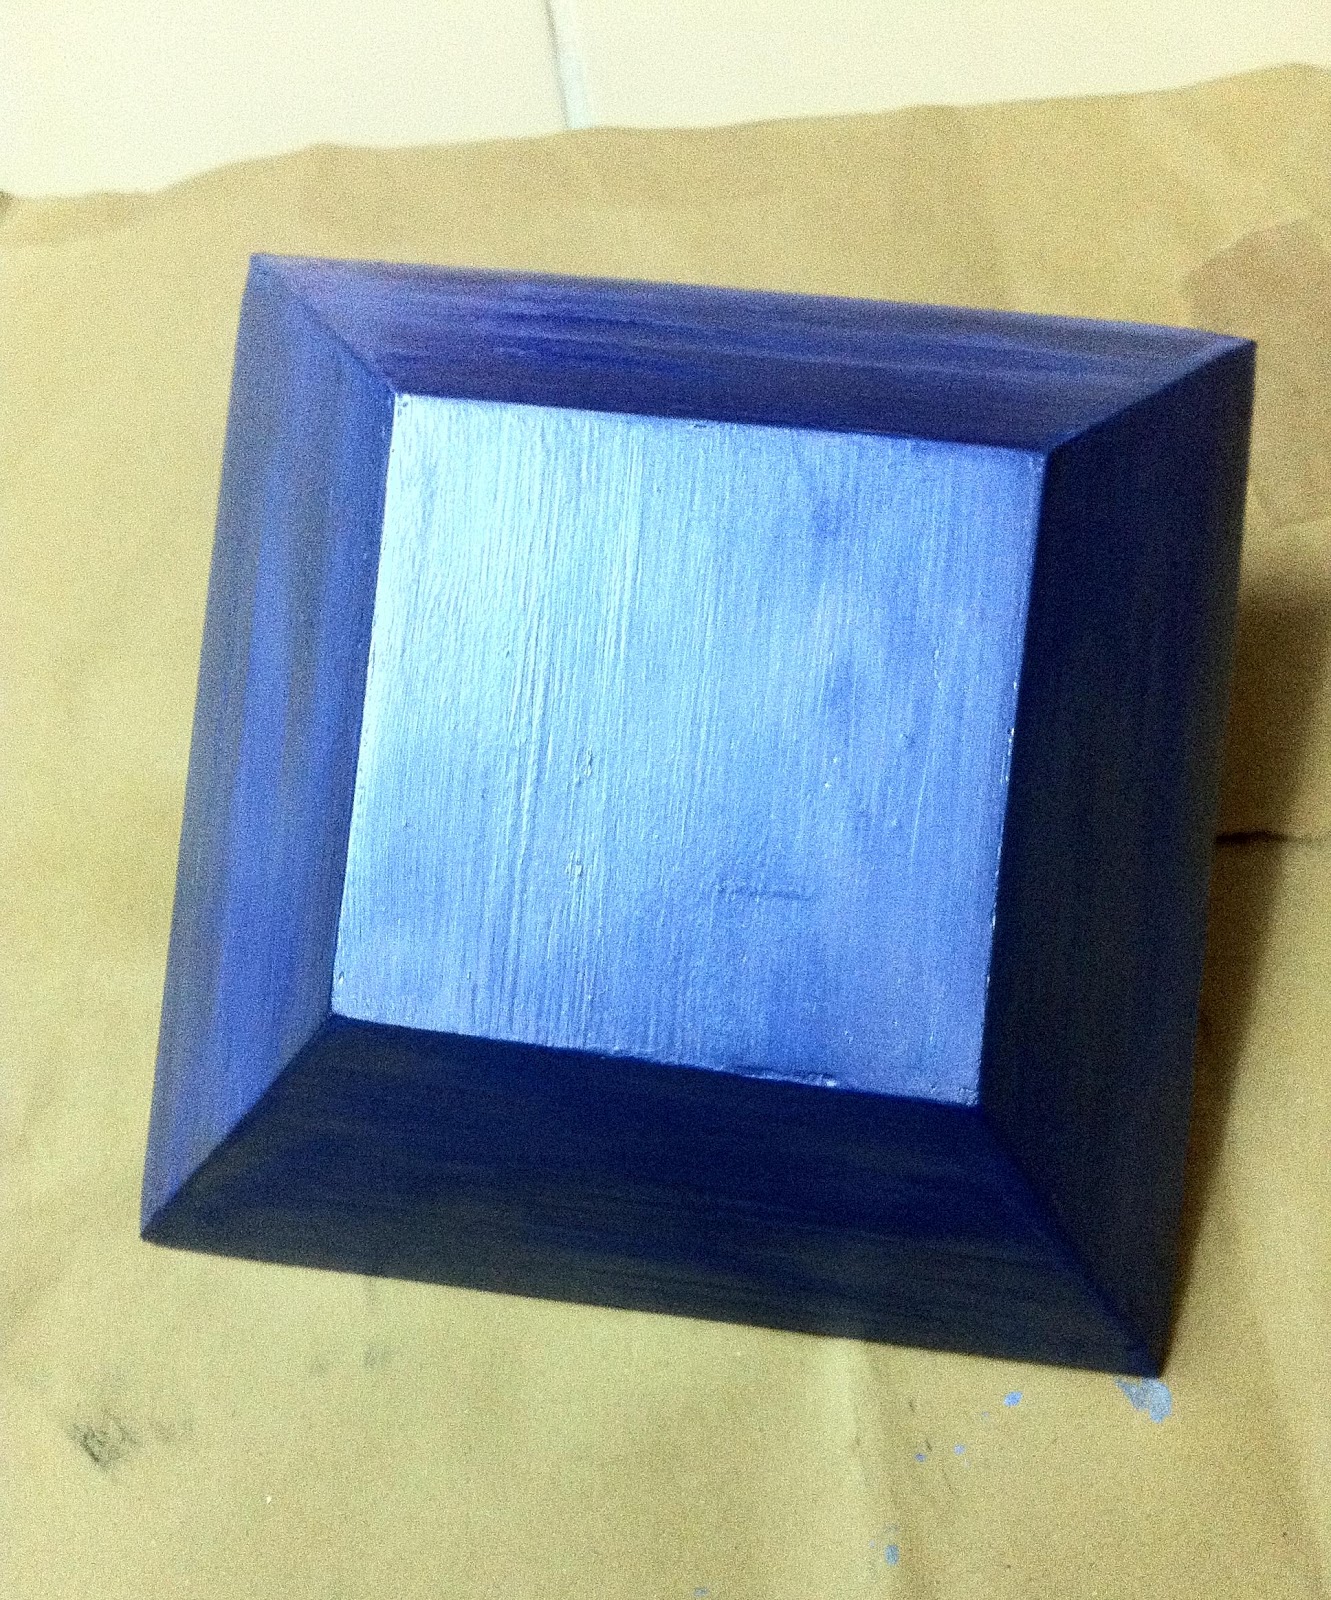
First layer, not dried yet. I would strongly recommend you to set some newspaper on first before you start painting, It could get messy. I didn't use any water to mix with the paint, but I did wet my paintbrush first to remove any colour stains from previous works. The finish looks very uneven due to the original colouring of the box. Refer on top.


I'm applying second layer, as you can see, the top half is darker than the bottom half (first layer). 


Second layer done.


I'm painting the inside of the box neon pink. Oh by the way, this pink paint glows in the dark, well, slightly. /insert disappointed face.


As you can see, compared with the blue paint, this is way much more uneven than the blue one. Reason? my guess is, in order for it to "glow" the extra chemicals they added in doesn't help with a "smooth finish". It kinda makes it look a little gloppy, but really, a few more layers would help. Well, I've evidence on top; refer to photo frame. 


This is how it looks like when it's dry. (second layer)


I'm using masking tape to tape the side. 


Because I'm going to stay painting on the borders as highlighted.


This is why I taped it. 


This is the fourth layer, I taped the inside part for the border painting.


The finished product!


The colour runs a little closer to this picture here instead of the above one.


The reason for choosing this pink paint for the interior of the box instead of the exterior, is because, I've worked with these paints before. I know that the finish for the pink one isn't as fantastic as the blue one. Since, this would be my jewellery box, I'm hoping that the jewellery inside will distract anyone from noticing the flaws. Also, it will be cool if it glows from inside right? 

A tip for you girls to keep your paint brushes longer, is to always clean your brushes right after you paint. Do not procrastinate! For me, I always wash it with water first, wipe off the excess water with tissue papers and leave it to air dry. This is probably not the proper procedure, but hey, at least I wash it, though you may want to google the actual procedure.

more about this inspiration: previous post

Sunday, 4 March 2012

Home remedy:keeping your accessories longer


My ring organiser box. I love this colour.


Only two rings out of these collections are not treated with nail polish.


my poor board. 


I'm using this currently, instead of the daiso one which I had been using previously. I think they all work the same, as long as you use a clear nail polish and NOT top coats.


This is an up-close photo of how it looks like with nail polish on it. For this ring, I applied two rich layers, don't ask me why. Usually I use just one rich layer, but I guess this ring is special?  If you are not a fan of shiny finishes, you will probably not like this home remedy. This is just my own personal way of keeping my accessories longer, they might not work for you. #justsaying


This is how I organise my rings, my poor box getting a little overloaded, my necklace organiser board is also getting way overcrowded. I really need the new room soon. For now, my entire necklace collection will have to be cramped into one small board. ):

Also, this is how I take care of my accessories, I think, I might be getting those varnish for wood/metal material. This is what happen when you buy cheap accessories. So far, nail varnishes have served me well. But I feel, it won’t be long lasting, and eventually, like how it chipped off while on our nails, it will get chipped off while on my accessories. I don’t want them to rust. So, a little effort goes a long way. (: Do you have your own home remedy for this too? Do share with me!

Thursday, 1 March 2012

inspirations: for my jewellery storage.


above images are all taken from Jen.

As you all know that, I'm preparing to move into my brother's room in June. So when I saw these, I couldn't resist, I have to do some researching. Prepare for heavy images ahead, so far, I've only search online for Ikea stuffs. I'm still doing my projects and whatnot, so these will do for now. I'll definitely move on to scouting around at daiso!

All images below are taken from Ikea.


DIOD glass 
 
I’m thinking of getting something similar to this, of course not blue, since I’ve yet to decide on my colour theme. This glass will have to be spacious enough for me to stick my hand in freely to get my accessories, otherwise narrow enough for me to use it as a stand for my bangles.


I love how these looked like a set, the flat one can probably be used to store anything, the shorter one for me to throw stuffs like rings. The tall one will be a “bangle stand” perhaps? Oh, and I love to use charcoal colour for my furniture and decor.


I love these too! I will probably pair it with myndig below. (:


also comes in these, MYNDIG side plate


If only these containers are shorter, I’ve yet to come up with ideas on how can I use these, but I just have a feeling that they will come in handy.


YNGAREN, it also comes in a pretty pink shade!


In my opinion, jewellery storage are just way overpriced, essentially, they are just fanciful ash trays and plates. With this idea in mind, I’ll probably search for hardware stores looking for cheap dinnerware. If they are not in my desired colours, I’ll just paint them over to suit my taste. (:

Saturday, 28 January 2012

Updated: Ikea multi hanger


Previously, I hang my scarf like that, but I realised, there is another way which will look a hell lot neater! So there you go.

from ikea, Multi-use-hanger, $9sgd.

Friday, 23 December 2011

Ikea haul


#1 A cork board- $9.50sgd, ikea calls it noticeboard.
I've been searching for something like this for a DIY project of mine (next post).
Daiso also sells it, somewhat a A4 size, or you can always purchase their photo frame-$2sgd and their cork board sheets- $2sgd which is mega thin. BUT, you can always combine a few pieces of cork board sheet together! I MIGHT do another DIY project using these materials from Daiso. (might)

#2 Shoes tree in grey-$1.80sgd comes in two sizes, large one here, Daiso have these too! Though, I can't seem to find it anymore!

#3 Jar with lid- $2.95sgd? another DIY project, a gift for J. I'll post it up soon!

#4 4jars- below $5sgd, ikea calls it the spices jar. The same DIY project for my girlfs. (:


#5 Multi-use-hanger- $9sgd
This is for me to organize my scarfs which are a lot! Previously, I used to use FIVE hangers to hang all my scarfs, 5 normal hangers as seen in the photo. Now, it looked so much neater! (:


Hi everyone, I decided to do a haul for my first post. (:

(You can skip this whole paragraph and get to the haul if you cant stand reading so much. )
So, my bro is getting married somewhere during June'12, I know, the world is ending on 2012, but as of now, life still goes on right? You must be wondering, what has my bro getting married have anything to do with this haul. Well, it has everything to do with this haul! He is moving out!! Which also happens on June'12, and I'll finally get my own room! Gasp* After 21 years, okay, 22, I'm turning 22(meh). Let's not be dampen by the age issue, okay, so ever since he told me that his BTO will be ready by June'12, and he will be getting married. I've been having a lot of home deco ideas, DIY projects going thru my mind.

His room is really in a wrecked state, a really MEN room, not bothering with any details, colors, decorations and whatnot. Not to mention, UNTIDY! So really, this is a very BIG project.
Now, after waiting for a couple of years, it's finally dec'11!
Christmas is coming, blahblahblah. && I can finally really start to hunt for furnitures and people wouldn't think I'm crazy. Not that I've started hunting. I merely went ikea to have a look, to see if there is anymore new ideas, better ideas. Yes, i already have a rough gauge, what I wanna buy, and where it will be.

I know, #kan chiong, but I can't help it, I'm excited about it, if I may, over excited will be a much more accurate term.
So after my grandmother story (after all, it's my first post!), let's get started!