Showing posts with label easy. Show all posts

Friday, 6 April 2012

DIY: A breath of new life to hair accessories


 Do you have childhood clips lying around the house? Begging for attention but you can't possibly be seen in daylight with such outdated designs.Well, I happened to come across these clips and its such a waste to just chuck it into the bin. So......


I painted it black! With my trusty black nail polish that's reaching the end of it's shelf life.
Now its ready to be used once more. It's blotchy now, because I accidentally dropped it while it's still wet from the polish.):


Another clip to be revived. 


I added some glitter to the black clip, so, who says you needa buy new clips when your old one's colour faded? Apply some nail polish, and you will have new clips. Good as new!


I can't find the link for pa, if it helps, this is how it looks like.


OR205


Nail polish used: PA nails, some japanese brand I think, you can find these brands at bugis level 2, or far east level 3/4. 

OR205 from Thefaceshop


Wednesday, 4 April 2012

DIY: handmade gift for your special ones


Look what I found while clearing my photos? Kinda random right? But not really actually, because, I just gotten my new laptop, so naturally I'll start clearing my photos, music and whatnot. I might have more random posts coming up. Depending on what I can find.


Looks kinda yucky here eh?


An upclose of the gel. (:


This is what I gave J when I was 16. 


Similar concept. For this case, I used a photo, of course laminated, and a lot of glitter powder to make it glow in the dark. Remember to use sealing tape if you are gonna use this kinda bottle.


Items used:
  1. Glass jar preferably with plastic lid that won't leak, cause cork lids will eventually "rot" when come in contact with moist. 
  2. Several bottles of hair gel that are not watery. Try to find those that runs a little closer to jelly, meaning "more solid or sticky", less "liquidity" or for the lack of better word, "gloppy". 
  3. Some pebbles to be placed at the bottom
  4. Some decoration stuffs/trinkets to be placed around the side. 
  5. Glitter! Preferably in several colours. Glowing powder can be found at a&bc(bugis junction level 3 I think). Takashimaya have a&bc also, not sure do they carry the glowing powder though.
Steps

1) Use bottles of water and try to estimate how much your bottle can contain. Since any commercialise bottles of drink will naturally come with labels that state how much ml it contains.
2) Shop for the ideal gel! I'm using the brand wella, which you can find it at CK department store, I bought mine at Tampines Ave 9 branch. And no, I don't stay at Tampines if you are wondering. =D They have several colours, depending on what colour you want, I used pink, typical huh? They have clear and blue colour too, so make your choice girls! I know some of you will probably think of the brand "gatsby" when I say hair gel, but no, they are not really suitable for this project, it runs a little too wet, not "solid/stick/gloppy" enough.

3) Use any big bowl, mix up your glitter/glowing powder and the gel. Please don't add any water to the mix! The whole idea is to use any gel that's as solid as possible.

4) If you have not enough gel due to miscalculation or wish to save some money, add the pebbles in the jar first before adding the gel. This is why I say you need "less watery" gel. It won't flow into the pebbles, don't understand? Refer below or the top photo.


5) After you add in the gel, you can use any long stick, in my case, I used chopstick to slowly push the deco stuffs into the bottle. Why sticks? Cause if you bought tall bottles, your fingers wouldn't be long enough! And I think I had enough of contact with these gloppy stuffs. 

6) Make some adjustments, and you are probably done! Easy right?  (:


Monday, 2 April 2012

DIY: jewellery bowl


I bought this from ikea tampines. But somehow, I just can't find the direct link for this, sorry!


The paint that I'm gonna use, I bought them from artfriend.


Don't worry about the paint being not lasting, I've use both paint colours before, this is just one of them. This is the "couple" photo frame J and I made for each other last year. (:  
Photo frames are bought from Bangkok Chatuchak.


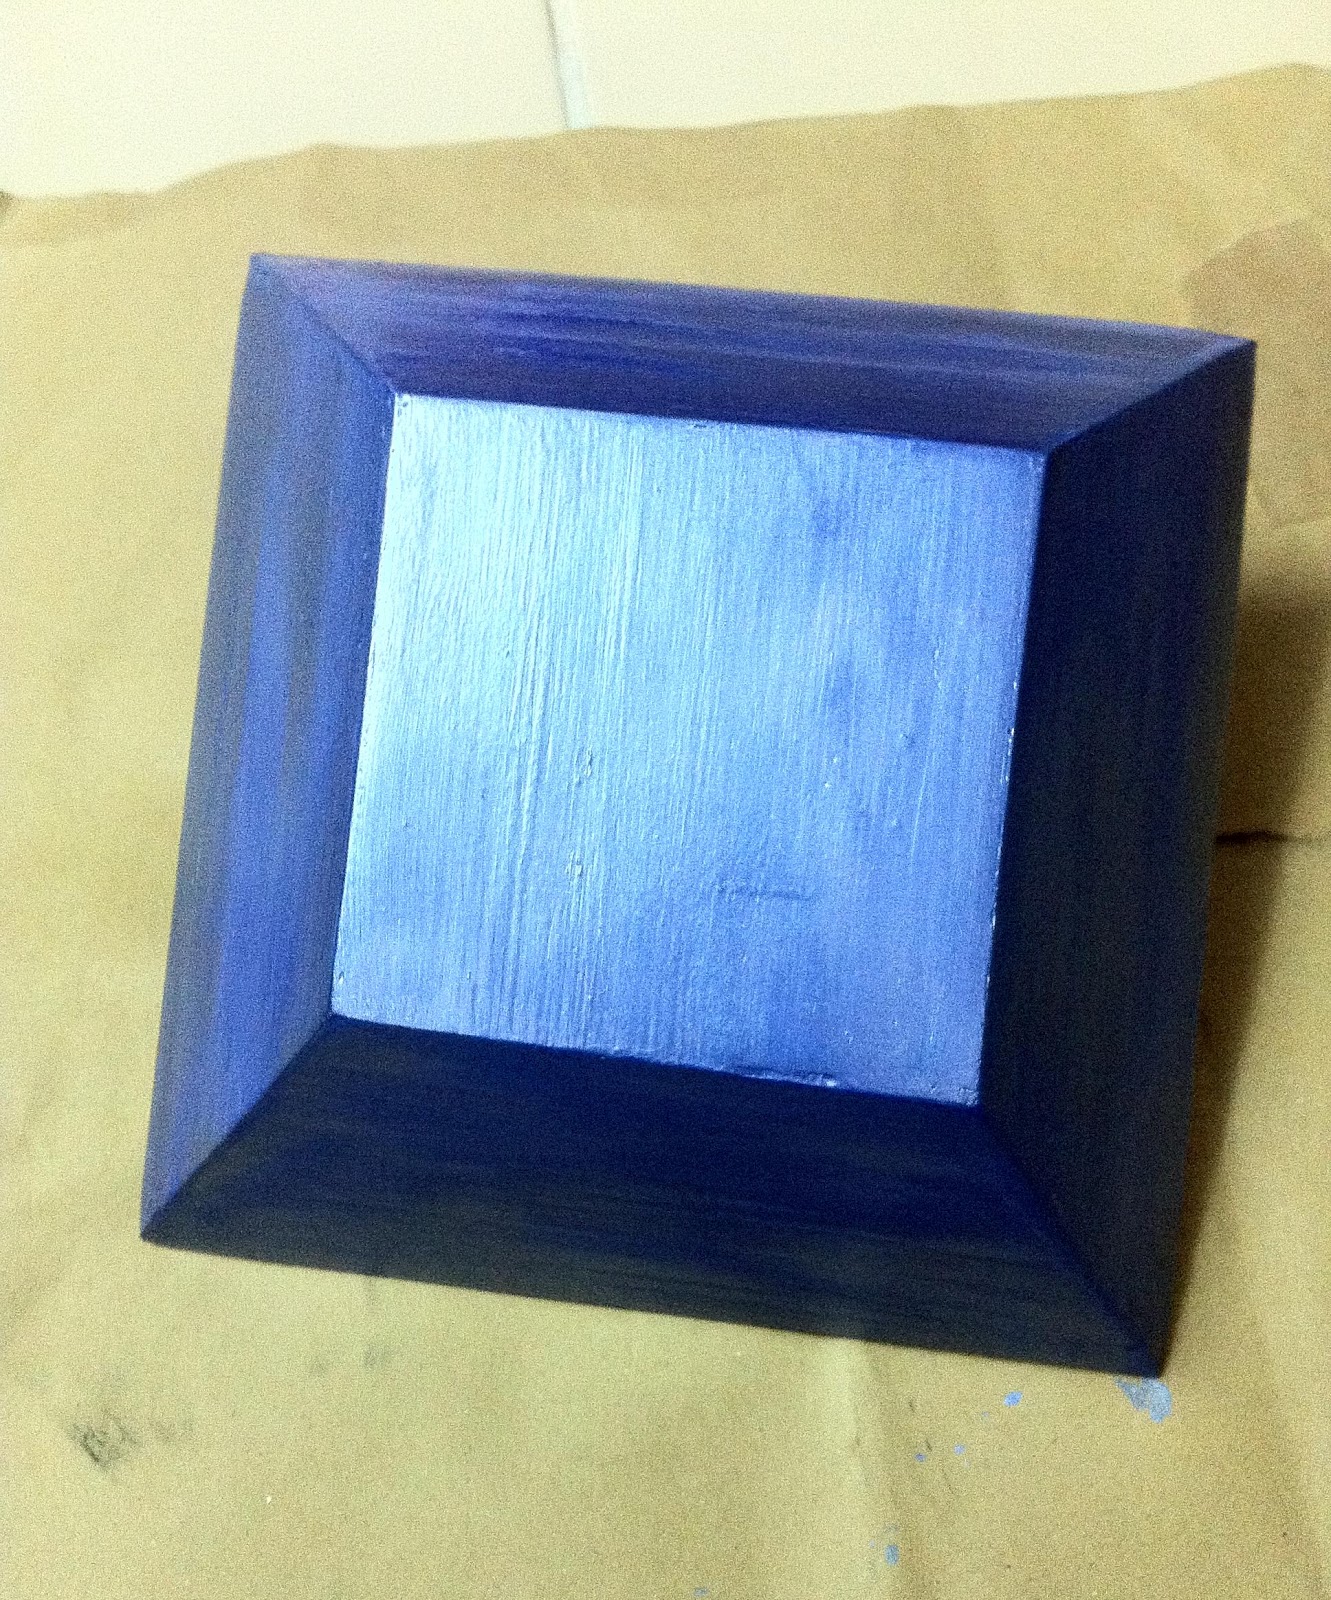
First layer, not dried yet. I would strongly recommend you to set some newspaper on first before you start painting, It could get messy. I didn't use any water to mix with the paint, but I did wet my paintbrush first to remove any colour stains from previous works. The finish looks very uneven due to the original colouring of the box. Refer on top.


I'm applying second layer, as you can see, the top half is darker than the bottom half (first layer). 


Second layer done.


I'm painting the inside of the box neon pink. Oh by the way, this pink paint glows in the dark, well, slightly. /insert disappointed face.


As you can see, compared with the blue paint, this is way much more uneven than the blue one. Reason? my guess is, in order for it to "glow" the extra chemicals they added in doesn't help with a "smooth finish". It kinda makes it look a little gloppy, but really, a few more layers would help. Well, I've evidence on top; refer to photo frame. 


This is how it looks like when it's dry. (second layer)


I'm using masking tape to tape the side. 


Because I'm going to stay painting on the borders as highlighted.


This is why I taped it. 


This is the fourth layer, I taped the inside part for the border painting.


The finished product!


The colour runs a little closer to this picture here instead of the above one.


The reason for choosing this pink paint for the interior of the box instead of the exterior, is because, I've worked with these paints before. I know that the finish for the pink one isn't as fantastic as the blue one. Since, this would be my jewellery box, I'm hoping that the jewellery inside will distract anyone from noticing the flaws. Also, it will be cool if it glows from inside right? 

A tip for you girls to keep your paint brushes longer, is to always clean your brushes right after you paint. Do not procrastinate! For me, I always wash it with water first, wipe off the excess water with tissue papers and leave it to air dry. This is probably not the proper procedure, but hey, at least I wash it, though you may want to google the actual procedure.

more about this inspiration: previous post

Saturday, 31 March 2012

DIY: add some colours to your accessories


I had a great haul shopping at shopwildwolves.
This spring, if you wanna add some colours to your accessories collection, I may have something for you here. (:


I saw this at asos, similar concept earrings here.


And I decided to.......DUPE IT. (With flash.)


(Without flash) The ring on the background is the ring from asos.


See the differences? I'm in love with my new set of rings.  
On nails: For audrey; Chinaglaze


From left to right, for audrey, lilacism, or 205, la girl, skinfood.


So how did I achieve this look? The answer to it is…… Nail polish! 

It’s really simple. The ring came in with dividers in place so there’s no trouble in the ratio of painting. Just paint one layer of nail polish in the colour that you fancy per portion. Its ok to let it overlap a lil, we’ll remove it later. Once all the colours are in, with the use of a cotton bud and nail polish remover(Sally Hansen), gently swab the dividers to let the gold show, it’ll really enhance the look. Once the touch ups are complete, use a clear nail polish to give it some shine and you are done! Easy right?

For the ring on the left, I used some sort of blue from skinfood, I can’t read Korean and thus can’t list the actual shade here. I also used the coral red from LA girls under the disco brites series. 

For the ring on the left, I used Lilacism from Essie, For Audrey from China Glaze, OR205 from thefaceshop. (: 

Friday, 13 January 2012

DIY project: collar


So, recently there is a collar craze, and I thought I would just join in. Since they help jazz up outfit effortlessly(almost).
So these are what you would need, sequins, collar, thread the same color as your collar (in my case: white) and needle.
I got the collar from a old white t-shirt my bro owned.


From daiso, $2sgd

So, I finished the other heart shape bottle, and bought this one instead. Again, it's not a top coat, it's a clear nail polish which imma use on my accessories not my nails. This is my third bottle, I finished two bottles and yes, I did spammed it on my accessories.
Anyway, this picture is up because I'm in love with anything heart shaped, and I think it's cute. This have nothing to do with the collar above.


Monday, 9 January 2012

DIY project: snow globe

Remember my ikea haul? So these are what the bottles are being used for.


So basically, I used a acrylic sealant to stick the figurine to the cap of the bottle.


Spice jar from ikea.


Before I stick the figurine, I screwed the cap tight, made a mark with my thumb as seen in the photo. That would be used as my "front", so that when I screw the figurine tight, the figurine would be at the "front". I'm not sure how can I explain this step, the picture could probably do the explanation better.

Baby oil, another alternative to baby oil would be distilled water with a teaspoon of glycerin.


Also, you will need some glitter. These are the glitter i used for my nails on my previous post. Link can be found here.

This is optional. From daiso. $2sgd


This is how it looks like, so if you want your bottle to look pinkish, you can either get a pinkish tint bottle, or, simply add more pink glitters.


This is the sealing tape, I think the brand is turbo, no other packaging came with it. Im not sure where can you find this, Im guessing any hardware/art store. I found this lying around the storeroom rotting away.

I used a sealing tape as a extra preventive measure against spillage.


You can see the white tape peaking put from the cap. This is when the ribbon would come in useful..


I added some more stuffs to the bottles, I was rather dissatisfied with the results, and that might be blogged later. But if you like it simple, you can stop here. 

Till then! X