Showing posts with label ikea. Show all posts

Wednesday, 25 July 2012

Updated, DIY PROJECT: Jewelry Organiser


If you have been reading my blog for a while, you would know that I always have the intention to revamp this piece of baby here. Old post here.


I repainted the frame to fit in my new room..

Then I gathered some my black construction paper and used double sided tape as shown above.

Then I used a piece of "stiff" paper and smooth it out..

you can also get inspired from wendyslookbook here. (:


This is the final look of my jewelry organiser/accessories board

Board; ikea
Paper; any craft stores

Monday, 2 April 2012

DIY: jewellery bowl


I bought this from ikea tampines. But somehow, I just can't find the direct link for this, sorry!


The paint that I'm gonna use, I bought them from artfriend.


Don't worry about the paint being not lasting, I've use both paint colours before, this is just one of them. This is the "couple" photo frame J and I made for each other last year. (:  
Photo frames are bought from Bangkok Chatuchak.


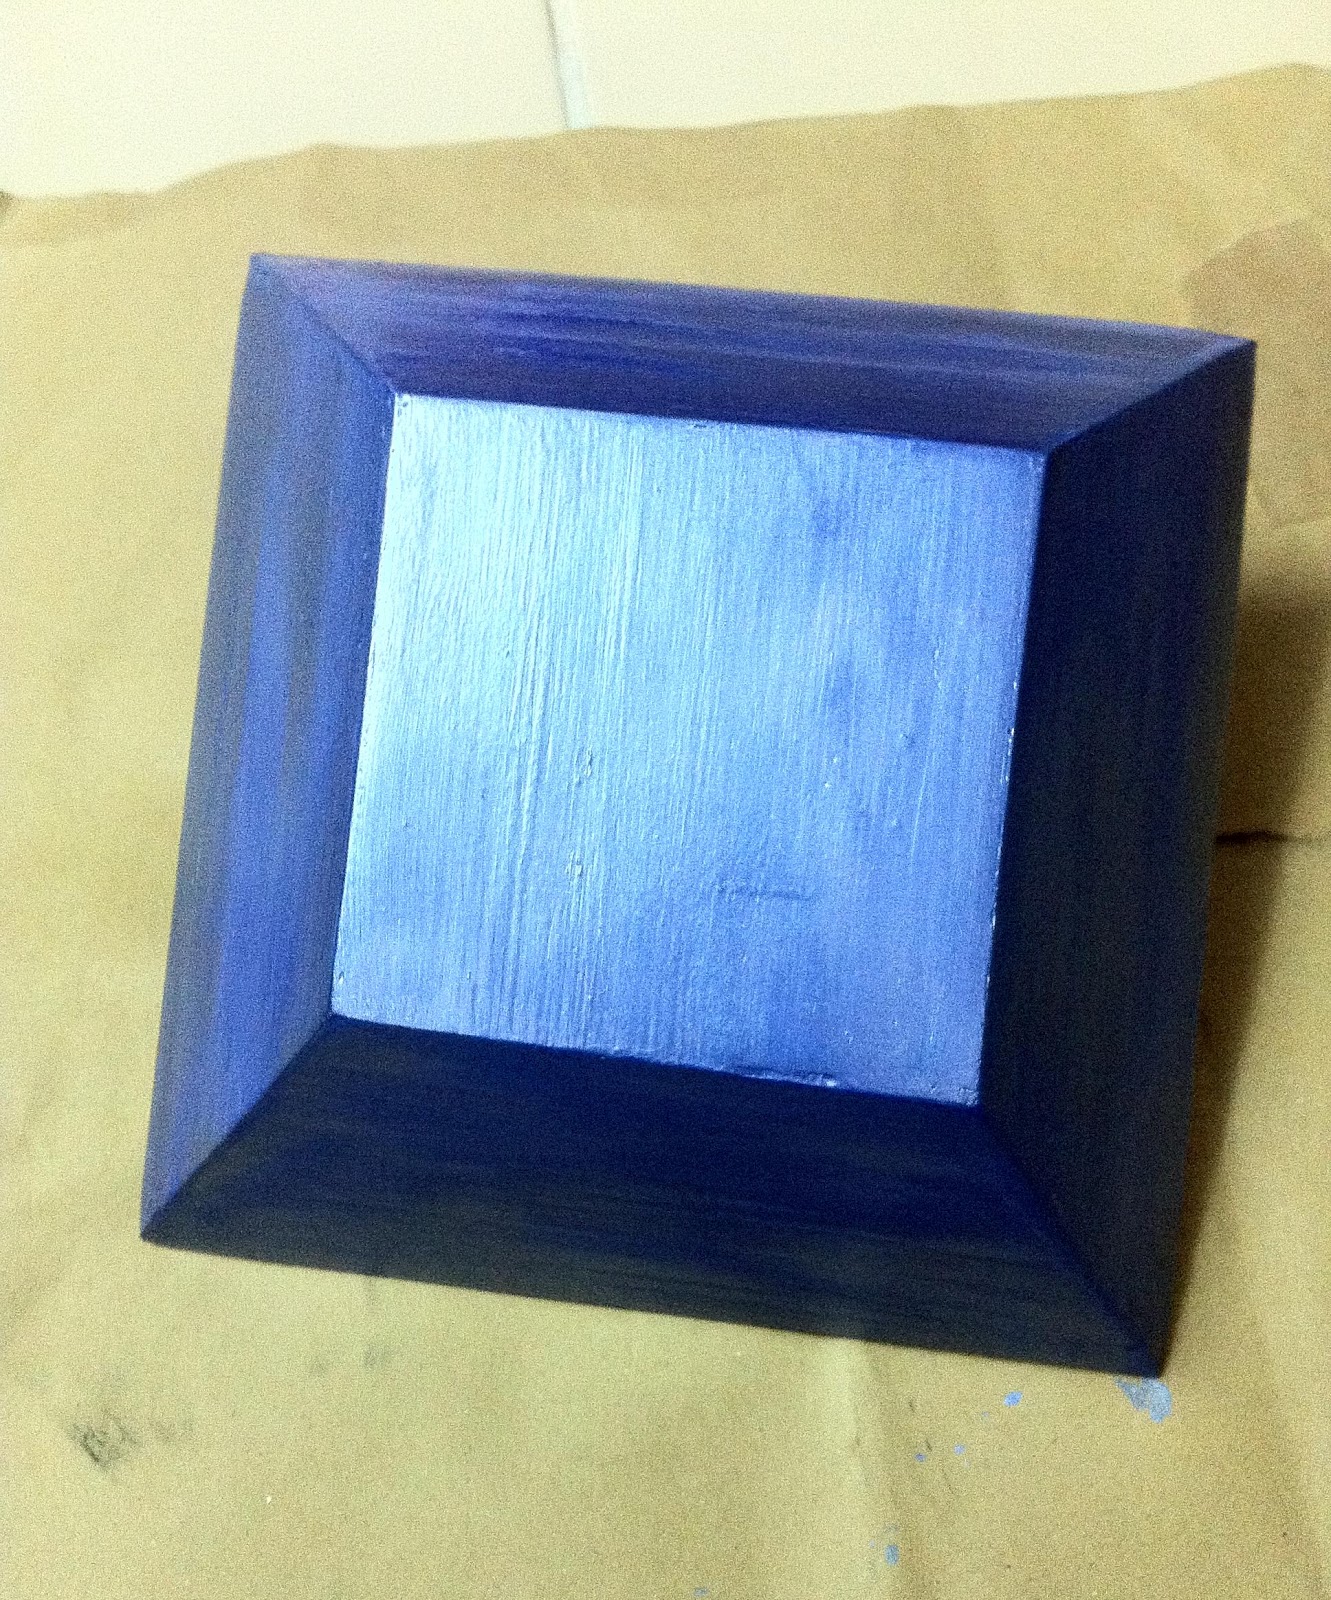
First layer, not dried yet. I would strongly recommend you to set some newspaper on first before you start painting, It could get messy. I didn't use any water to mix with the paint, but I did wet my paintbrush first to remove any colour stains from previous works. The finish looks very uneven due to the original colouring of the box. Refer on top.


I'm applying second layer, as you can see, the top half is darker than the bottom half (first layer). 


Second layer done.


I'm painting the inside of the box neon pink. Oh by the way, this pink paint glows in the dark, well, slightly. /insert disappointed face.


As you can see, compared with the blue paint, this is way much more uneven than the blue one. Reason? my guess is, in order for it to "glow" the extra chemicals they added in doesn't help with a "smooth finish". It kinda makes it look a little gloppy, but really, a few more layers would help. Well, I've evidence on top; refer to photo frame. 


This is how it looks like when it's dry. (second layer)


I'm using masking tape to tape the side. 


Because I'm going to stay painting on the borders as highlighted.


This is why I taped it. 


This is the fourth layer, I taped the inside part for the border painting.


The finished product!


The colour runs a little closer to this picture here instead of the above one.


The reason for choosing this pink paint for the interior of the box instead of the exterior, is because, I've worked with these paints before. I know that the finish for the pink one isn't as fantastic as the blue one. Since, this would be my jewellery box, I'm hoping that the jewellery inside will distract anyone from noticing the flaws. Also, it will be cool if it glows from inside right? 

A tip for you girls to keep your paint brushes longer, is to always clean your brushes right after you paint. Do not procrastinate! For me, I always wash it with water first, wipe off the excess water with tissue papers and leave it to air dry. This is probably not the proper procedure, but hey, at least I wash it, though you may want to google the actual procedure.

more about this inspiration: previous post

Thursday, 1 March 2012

inspirations: for my jewellery storage.


above images are all taken from Jen.

As you all know that, I'm preparing to move into my brother's room in June. So when I saw these, I couldn't resist, I have to do some researching. Prepare for heavy images ahead, so far, I've only search online for Ikea stuffs. I'm still doing my projects and whatnot, so these will do for now. I'll definitely move on to scouting around at daiso!

All images below are taken from Ikea.


DIOD glass 
 
I’m thinking of getting something similar to this, of course not blue, since I’ve yet to decide on my colour theme. This glass will have to be spacious enough for me to stick my hand in freely to get my accessories, otherwise narrow enough for me to use it as a stand for my bangles.


I love how these looked like a set, the flat one can probably be used to store anything, the shorter one for me to throw stuffs like rings. The tall one will be a “bangle stand” perhaps? Oh, and I love to use charcoal colour for my furniture and decor.


I love these too! I will probably pair it with myndig below. (:


also comes in these, MYNDIG side plate


If only these containers are shorter, I’ve yet to come up with ideas on how can I use these, but I just have a feeling that they will come in handy.


YNGAREN, it also comes in a pretty pink shade!


In my opinion, jewellery storage are just way overpriced, essentially, they are just fanciful ash trays and plates. With this idea in mind, I’ll probably search for hardware stores looking for cheap dinnerware. If they are not in my desired colours, I’ll just paint them over to suit my taste. (:

Saturday, 28 January 2012

Updated: Ikea multi hanger


Previously, I hang my scarf like that, but I realised, there is another way which will look a hell lot neater! So there you go.

from ikea, Multi-use-hanger, $9sgd.

Monday, 9 January 2012

DIY project: snow globe

Remember my ikea haul? So these are what the bottles are being used for.


So basically, I used a acrylic sealant to stick the figurine to the cap of the bottle.


Spice jar from ikea.


Before I stick the figurine, I screwed the cap tight, made a mark with my thumb as seen in the photo. That would be used as my "front", so that when I screw the figurine tight, the figurine would be at the "front". I'm not sure how can I explain this step, the picture could probably do the explanation better.

Baby oil, another alternative to baby oil would be distilled water with a teaspoon of glycerin.


Also, you will need some glitter. These are the glitter i used for my nails on my previous post. Link can be found here.

This is optional. From daiso. $2sgd


This is how it looks like, so if you want your bottle to look pinkish, you can either get a pinkish tint bottle, or, simply add more pink glitters.


This is the sealing tape, I think the brand is turbo, no other packaging came with it. Im not sure where can you find this, Im guessing any hardware/art store. I found this lying around the storeroom rotting away.

I used a sealing tape as a extra preventive measure against spillage.


You can see the white tape peaking put from the cap. This is when the ribbon would come in useful..


I added some more stuffs to the bottles, I was rather dissatisfied with the results, and that might be blogged later. But if you like it simple, you can stop here. 

Till then! X